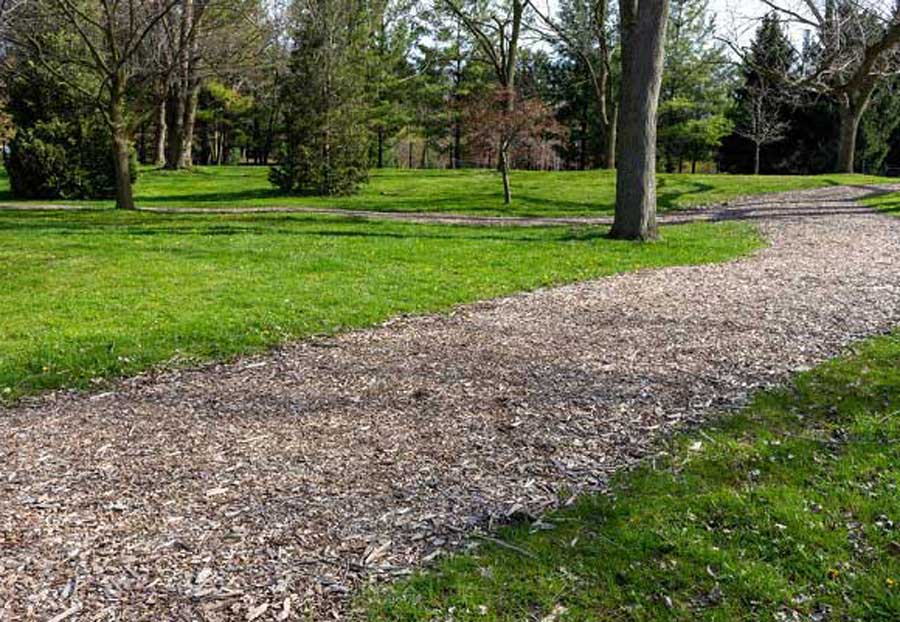
Paths made from, wood chips, bark mulch, and pine needles are surely the most natural of all paths. Although these paths require a certain amount of maintenance as the materials break down over time, they are inexpensive, easy to install, and simple to maintain.
These are the paths farthest from the house; they are the most appropriate in woodland or settings where the material would be found naturally. They add an earthy color to the setting and their fragrance, especially when first laid or after a rain, adds yet another element to the walk.
Nevertheless, wood chips, bark mulch, and pine needles should never be used on steep slopes because they can be slippery and when dry, tend to shift.


Wood chip pathway design
Because wood and bark mulch paths are so informal, the design of the path should be natural and simple too.
In woodland- or within the shrubs and trees at the edges of your garden, there are places where you walk- or would lie to walk for pleasure. Lay out a path where you would naturally walk in those areas. Or perhaps there is a stream you like to walk along that you could design. If you have an acre of more woodland, perhaps you would like to design a walk through the woods.
Given that these paths can flow through a garden, consider any and all possibilities. Look for cues, such as a narrow passageway between two tree trunks, around boulders, or along the edge of an existing bed, where the path can double as edging. Take cues for the direction the path should take from points of interest; existing rocks, plants, trees, and water flow.
In some woodland, you will find vast moss-covered rock outcroppings or smaller boulders with ferns growing here and there in crevices. Or you might find several closely growing trees that form a copse or pairs of trees that form entrances. There might be rotted stumps of trees that have given rise to miniature gardens of mosses, ferns, and spleenworts.
Other points of interest include views through the woods to nearby meadows, mountain ranges, valleys, or pockets of soil that might later be planted.
Once you have explored the entire area, go back to the outside of the woods to consider the starting and ending points of the path. A door in the house can suggest the starting point, an existing pathway that you would like to branch out, an area of lawn, or a break that exists or can be made in a wall or fence.
With this, you can begin to determine the exact layout of the path. Be careful not to end up with too many straight stretches; curves and stunts are what add suspense to a path and draw the walker to explore what lies beyond. Wood chip pathways are never straight.
You might use a bark chip path as a jumping-off point for other informal paths, all of which can link up to create a whole system of paths. These are the paths along which to plant azaleas, rhododendrons or shrubs, perennials, and neutralize with daffodils.
Having decided where the path will go, decide on a material whose color will blend or contrast with existing soils, plants, and other materials.
Bark Mulch path
If there are lumber mills in your area, they are the place to look for large and inexpensive amounts of bark mulch. A pickup truck load (2 cubic yards) costs about $50 at the mill. This is a bargain compared to bagged mulch.
Nonetheless, bagged material is uniform, often finer textured, and easily handled. Milled bark mulch can sometimes be very rough.
- Hemlock is one of the more refined barks. It has a pleasant fragrance as well as a handsome rust-red color.
- Oak is typically shot though with long, broad unattractive strips.
- White birch is good, though it, too, has long strips of papery bark that have to be sorted out as you lay the pathway.
It is best to ask the loader to give you the best mulch available.


Laying a Bark Mulch Path
To lay a proper bark mulch path through heavy or slowly draining soils, excavate a trench 6 to 8 inches deep and lay in 4 inches of quickly draining gravel. If you do not lay the gravel down, the soil under a 3 to 4-inch layer of bark mulch path can become muddy.
If the soil is already free draining, excavating 3 to 4 inches will suffice.
But before filling with the bark mulch, lay down a sheet of ground cloth/landscape fabric to prevent the material from sinking into the gravel.
Otherwise, you can spread the bark mulch directly onto freely draining soils to create a walkway raised about 4 inches. When the mulch breaks down in a year or two, simply fork the decomposed material into the soil in adjoining beds and replace it with fresh bark mulch.
Lay bark mulch directly onto the soil between rows or areas of vegetables in the vegetable garden and every two years or so fork the decomposed mulch into the beds and replenish the path material. This approach will look attractive, build up the soil, and reduce maintenance in the paths.
Pine Needle Paths
Pine needles are especially appropriate in shady woodland gardens where white pines or any evergreen trees grow. The needles should be laid down so thickly that they have the same soft springiness associated with the floor of any evergreen forest.
Needles do not make as much sense in sunny gardens because they do not appear to have fallen naturally onto the path. Also, in the sun, they tend to gather and hold heat, become brittle, and break down quickly. In shade, their color is deeper and they do not dry out as quickly.
A pine needle path is best where you want a very little touch to the path, where you want to tread lightly in the woods, yet still have clear direction and a stylish surface. The color of pine needles adds a gentle, earthy color to the path. Their soft texture allows people to walk barefoot. Their fragrance, especially when first laid, or after a rain, adds yet another element to the walk.
However, pine needles should not be used on steep slopes as they tend to get slippery and shift to bare earth.


Laying a pine needle path
For adequate drainage, excavate to a depth of 8 inches and then lay down 5 inches of gravel on top of which goes 2 inches of bark mulch and finally a covering of 1 or 2 inches of pine needles.
The bark mulch layer provides the springiness you associate with pine needles underfoot; it also retains moisture and keeps the needles flexible longer. Also, when the pine needles decompose, they expose the bark mulch, rather than gravel. In that way, the illusion of the forest floor is kept intact. If the needles were laid directly on gravel, in a short time they would dry out, break up more easily and the gravel would be exposed.
If drainage is necessary across the path, dig a 2 or 3-foot trench across either side of the path and backfill with the same freely draining gravel. Every autumn, when the pine needles fall, scatter a new dressing of needles over the top.
The decomposed bark and pine needle layer can either be scattered in the woods or used as compost around acid-loving shrubs such as rhododendrons.
Laying a Wood Chip path
Once a path is roughly laid out, you can begin clearing. Divide the work into three phases.
- First work the length removing sapling that can be up-rooted by hand and shovel or cut with a handsaw.
- Next, if necessary, work the length of the path with a chain saw, removing dead trees and taking out larger ones that either impede the smooth running of the path, block views or confuse the image of more satisfying trees.
- Finally, make a third pass with pruning shears and a handsaw to fine-tune the path. Cut saplings to expose the trunk of a magnificent tree just off the path. Cut a “window” in saplings to open a distant view.
Excavate to a depth of 8 inches and then lay down 5 inches of gravel on top of which goes 2 to 3 inches of of wood chips.
Over a broader or deeper wet spot, you can lay 2 limbless tree trunks, and then nail planks across the trunks to form a rustic bridge. All of these solutions will make a graceful transition in the woods to carry you over wet, low places.
If you feel the path does not have enough inherent qualities, you might want to consider planting shrubs and woodsy perennials to create points of interest along the way.
The next step, then, is to determine where to introduce additional plants to provide areas of surprise or intimacy, screening, or drama. New plantings need to look as natural as possible, so place them, for example, near existing boulders and rock outcroppings.
The soil is another consideration when siting new plants. In many cases, you will find woodland soil has been exhausted by ferocious competition for water and nutrients among existing trees and shrubs. In such cases, look for areas where the ground is not too rooty in relatively open spaces, in places near large boulders or rock outcroppings where roots have not yet penetrated, and in places where tree trunks have decomposed.
Excavate the soil a foot deep or more and then replace it with a mixture of equal parts topsoil, compost, and peat. In clay soil, use equal parts sand and topsoil; in sandy soil, use equal parts topsoil and compost.
Plants introduced along the woodland path should complement the beauty of the natural woodland, and your choices should be dictated by what native plants are available in your area.
The result is a path that meanders comfortably through the woodland, curving and twisting as it comes upon trees, groups of shrubs, or boulders.
Pine needle and bark mulch paths require a certain amount of maintenance because the material breaks down over time.
