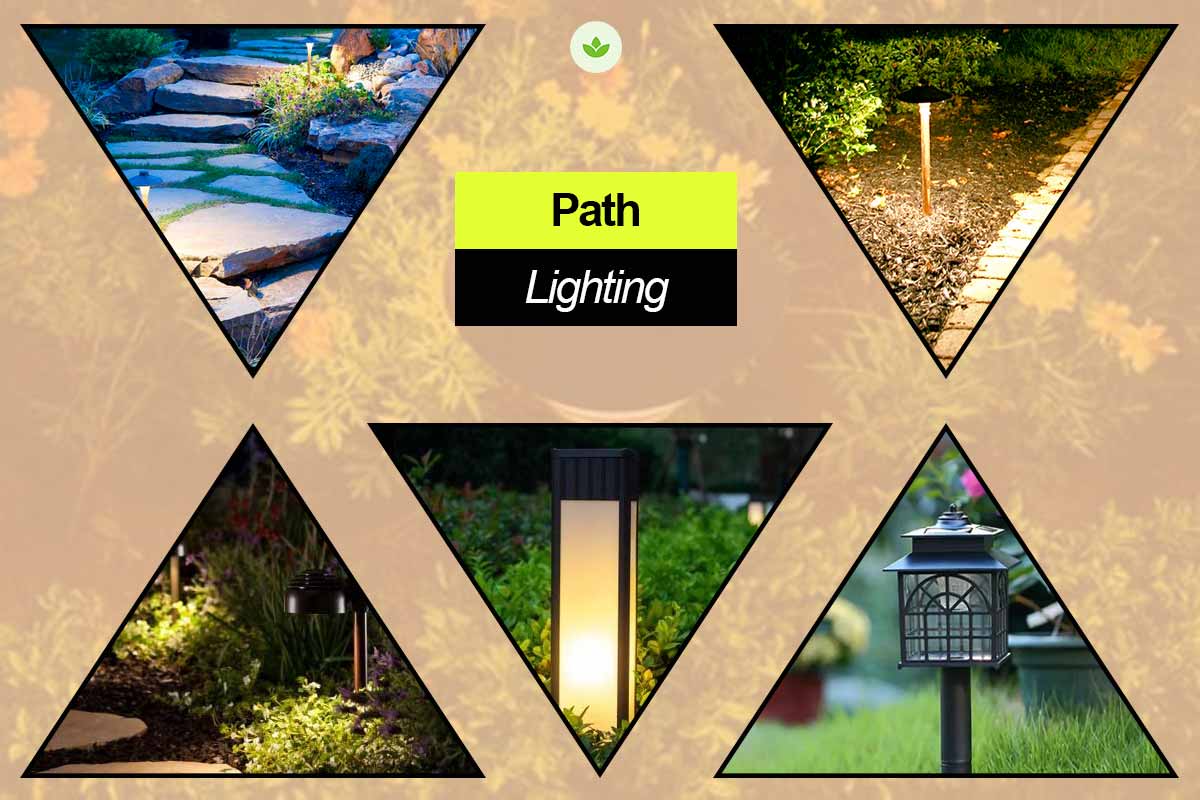
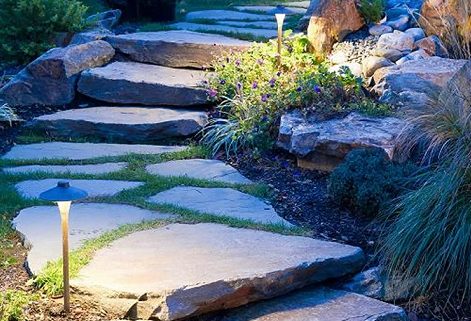
I night stroll can be tricky in the dark. But, bring in nighttime lighting, and the nightscape comes to life. Navigating your Kaiyu Shiki garden becomes an “illuminating walk in the park.” In addition, lighting improves safety and security.
Lighting your walkways and sidewalks ties the rest of the landscape lighting together, all while adding intrigue to rock beds and plant cover. But as it guides your way, path lighting should be warm and in harmony with the rest of the lighting (Outdoor and indoor).
In the following sections, you will find information to assist you in developing your pathway lighting. Soon, your doorstep will be welcoming guests of all kinds and, of course, deter prowlers.
Why path lights
Good path lighting illuminates walks while adding intricacy to boulders, and plant beds, and highlighting transition areas. In addition to this, they;
- Enhance visual appeal by adding a soft glow to the nightscape and sometimes, with their intricate designs
- Mark boundaries and transition areas. A lush lawn to a rustic brick walkway, for instance. Illuminating steps and any elevation change is another.
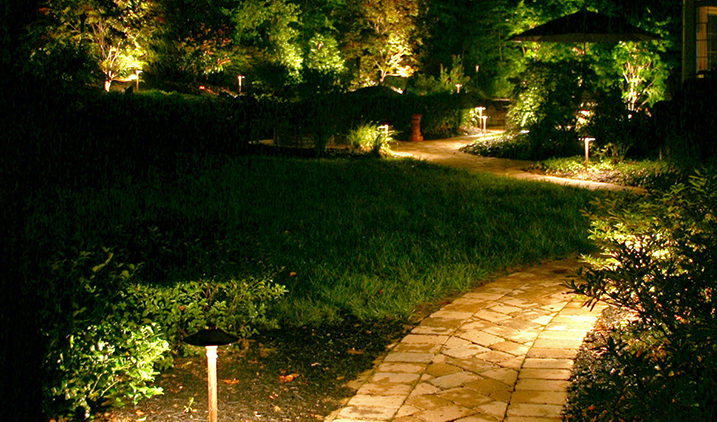
- Draw the viewer’s attention to a particular direction. Think of a walkway that leads to a focal point: A sculptural fountain, statuary, specimen tree, gazebo, an arbor, or an exquisite entryway. The path lights guide the eye in a particular direction.
- Enhance safety and security. Allows for safe nighttime navigation. Secondly, a properly lit path and surrounding nightscape deter prowlers.
Selecting Path lights
There is a pretty broad selection of path lights. The question is: “Which one is best?”
There are two main considerations when selecting a means to illuminate a walkway; Will the fixtures be visible or hidden?
Visible fixtures include the traditional spread light, bollards, lanterns, or recessed lights.
Hidden fixtures illuminate the pathway without calling attention to themselves. Typically, this is from downlighting from a tree or other overhead structure such as the dormer or eave of a house. Downlighting provides even lighting and uses fewer fixtures as the throw distance is greater.
Moonlighting, a technique that involves downlighting and filtering light through the leaves and branches of tall trees, is especially captivating. Moonlighting bathes the walking surface with a natural-looking soft glow, casting a pleasing dappled pattern.
Areas without overhead mounting spots are not suited for downlighting. Without an appropriate mounting location, a ground-level fixture such as a traditional path light or ground wash is a better alternative.
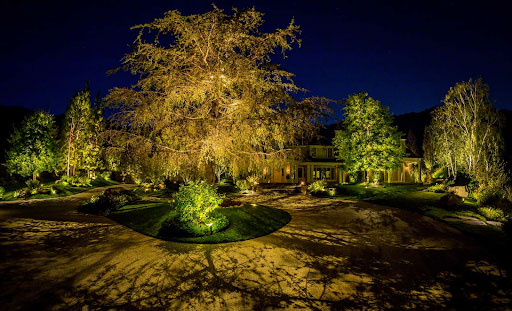
Moonlighting
Scope & Scale:
Consider the size and height of the fixture to the illumination area. For instance, a quaint garden path for a small English garden would benefit from a shorter warm path light. A winding path would require a taller fixture capable of casting light over a wide area.
Use fixtures with the appropriate style for the space both day and night. For instance, a modern-looking steel bollard would look out of place in a traditional English cottage. Moonlighting and stone lanterns, on the other hand, are great for this space.
Quality:
Opt for durable fixtures that can withstand harsh outdoor conditions. Solid construction with rubber gaskets and proper locking mechanisms protects the internal components from damage by moisture and dust.
Composite and aluminum fixtures tend to wear out quickly while ferrous materials like copper, brass, and tapered steel offer excellent durability. Brass and copper fixtures age gracefully and develop a beautiful patina (greenish corrosion). The patina process varies on the weather but it usually turns about a month in. To get the darker patina color, it is going to take maybe 4 to 5 months.
Cost:
This discussion cannot be complete without touching on cost.
Budget options are available for solar lights but higher-quality solar fixtures or low-voltage wired systems typically $100 to $700 or more per fixture. Cables generally cost around 50 cents per foot. Transformer can range up to $1000.
LED vs Incandescent:
Traditional incandescent and halogen bulbs have been largely phased out for LEDs. LEDs consume significantly less energy, have a longer lifespan, and produce a warm glow.
Solar Vs Low Voltage:
Solar lights are easy to install. Find a proper spot for placement and you are good to go. Low-voltage lights require wiring the fixtures to an electrical outlet (GFCI outlet) via a transformer. The transformer steps down the voltage from 120 volts down to 9 to 15 volts (~12 volts).
Most lighting professionals prefer low voltage systems as they tend to be better built and offer better performance.
A lot of solar lights lack quality, leading to frequent breakdowns. What’s more, they depend on the weather conditions. However, although some solar lights may not provide powerful illumination, they are sufficient to mark the path. Their biggest advantage yet; they do not require wiring and are thus quick and easy to install.
Types of path lights
In this section, I cover the 4 main types of path lights for those without a mounting location for downlighting or moonlighting;
- Traditional, path, spread, or area lights
- Modern direction path lights
- Bollard lights
- Recessed lights
Path/Spread/Area lights:
This one is a classic design. Think of fixtures you find in garden center lighting kits. They come in various shapes and styles.
Area lights are taller and slender fixtures with classic round or contemporary square top hats that direct the light downwards. Some feature intricate designs such as top hats shaped like leaves or mushrooms or multiple grooves. But the most common area light is the standard mushroom or pagoda style. The shape of the head and height of the fixture dictate the shape of the light spread. Fixtures with larger hats and taller poles tend to have wider spreads great for wider paths, short shrubs, and flower beds. Smaller hats and shorter fixtures are better for narrower paths. Interchangeable top hats allow for variable light spread.
The fixtures are typically about 8 to 24 inches tall. Adjustable stems allow for the top hat to either be raised or lowered to adjust the light output. You can expect an 8 to 18-foot diameter of light throw with most spread lights.
The problem is; that they are more vulnerable to damage in high-traffic and play areas. Avoid using spread lights on turf where lawnmowers, edgers, and trimmers pose damage risks.
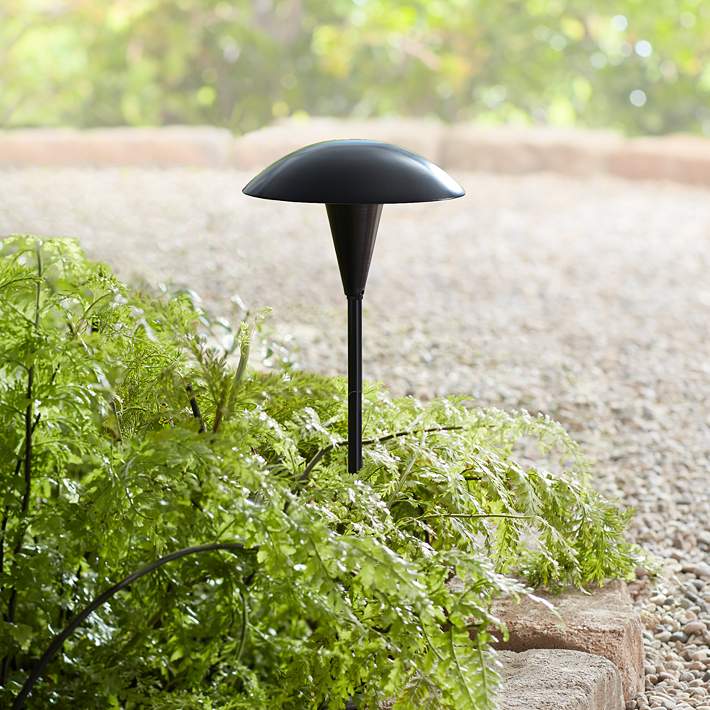
Mushroom path light
Directional path lights
Directional path lights are similar to traditional path lights but instead of a fixed top hat, they have a direction lead on top.
This allows for precise control over the direction of the light by swiveling the head to where the light is needed. On the flip side, they are not suited for broad-area illumination.
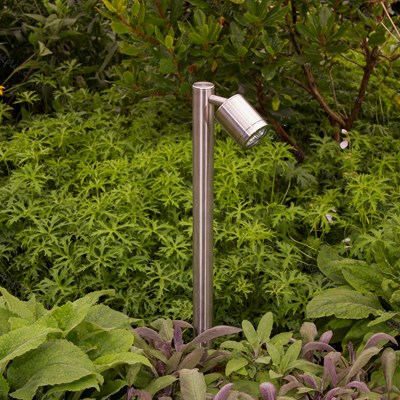
Directional path lights
Bollard path lights
Bollards primarily serve as markers, defining the path; their light is of secondary importance. We see a very diffused light source through the frosted or colored glass or plastic.
They are commonly found in car parks, modern driveways, and wide walkways.
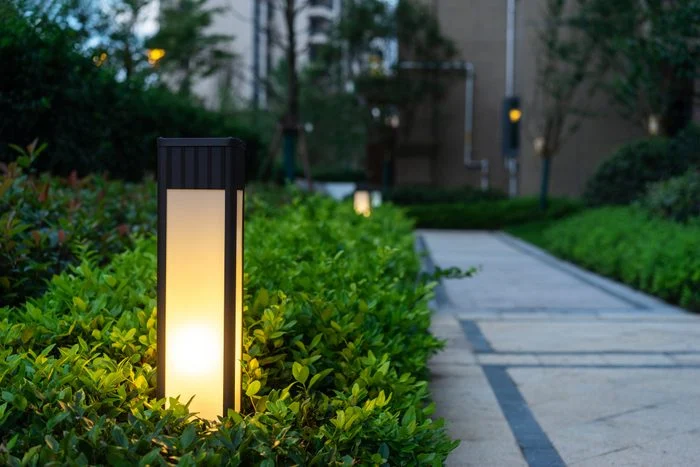
Bollard light fixtures
Recessed path lights
Recessed lights are embedded into a surface. Examples include
- Step lights are recessed and centered at the face/tread of each step
- Wall lights mounted on a sidewall next to a path. They are usually mounted at the intersection of two steps for improved effectiveness
- Paver marker lights are designed to be installed as pavers are, flush to the ground. They are used to mark and punctuate the path.
- Ground wash– This a unique low-profile fixture that spreads light across the walking surface. They are very discreet and are not going to get kicked or bumped.
-
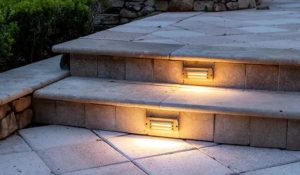
- Step lights
-

- Sidewall lights
-
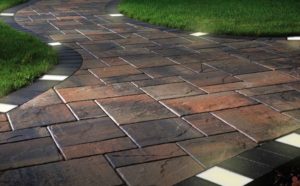
- Paver light
-

- Ground wash
Path Lighting design
A walkway lighting project requires understanding how the space is utilized.
If there is a well-established tree, incorporating wide-spread down lighting allows for a more natural ambiance and broader coverage. In some cases, the right amount of down lighting can replace the need for traditional path lights. But there are instances where a combination of spread and down lights is visually stunning.
Uplights next to trees, shrubs, topiaries, or walls close to a walkway or sidewalk provide a lot of residual lights to light up the walk.
In terms of brightness, the path or walk seldom has the highest brightness level. Reserve bright accent lights for focal points such as sculptures, specimen trees, or entryways to draw the eyes towards them. Instead of a high illumination level, an even distribution on the path surface is more desirable. It more comfortable walking along a dimly lit path as long as they are walking toward a focal point with a higher light level. You do not want to overwhelm the pathway using too many lights.
However, the brightness level largely depends on the reflectance of the paved surface and surrounding features. Materials with high reflectance can use a low light level. Darker materials require higher brightness levels.
Lighting Steps & Stairways
Steps, stairs and any elevation change need attention brought to them. Yet, the lighting should respond to the physical form of the stairs. Those less easily negotiated require better lighting.
Light can be introduced from above by downlighting, from the side of the tread, from recessed tread lights on the tread or step lip or sidelights recessed into sidewall. The addition of a railing along a staircase also offers an additional fixture location.
Stem or post-mounted path lights can also be used to highlight steps or changes in elevation. Plan the fixture height to allow lighting several steps at a time. Washing boulders and foliage reflect some residual lighting towards the path and steps.
Path lighting Installation
A lot of manufacturers offer all-in-one DIY kits that include everything needed for installation. These kits typically consist of;
- Light fixtures
- Transformer to step down the voltage. Choose a transformer based on the total wattage required for all your fixtures, with a 25% buffer for future additions.
- Low voltage power cable to transmit electricity from the transformer to the light fixtures. Use underground-rated wires buried at least six inches deep for safety.
- Easy lock connectors to wire fixtures to the cable and splice wires with ease
Installation involves connecting the lights to a transformer plugged into a GFCI outlet.
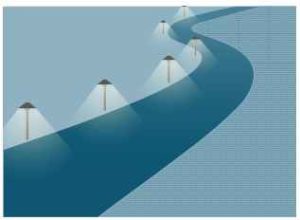
Ensure proper spacing between post lamps; around 6 to 10 feet apart and evenly spaced. The spacing largely depends on the beam spread and height of the fixture. We could probably space out path lights a little more if it is going to put out light farther away.
General recommendation: Whatever your linear length is divide that by your number of fixtures to ensure even light distribution. Exceptions can be made for uneven ground or natural barriers like trees or rocks are present. Plan fixture spacing to overlap the beams spread from adjacent fixtures.
It is best to position the first and last path light near the beginning and end of the path. Place pathway lights 12 to 18 inches away from the walkway.
Alternating or staggering fixtures evenly spaced out between each path light on both sides of the path work reasonably well. Fixtures placed on the same side or directly across from one another create an unpleasing runway effect.
-

- Staggered path light
-
- Linear path lighting
To Wrap up
Prioritize the lighting effect over fixating on fixture selection. Balance illumination to avoid overwhelming the space. Remember, “less is more.”
Consider hiring a landscape lighting designer for a well-planned layout, especially if you lack electrical expertise, to ensure safety and visual appeal.
Good Luck pals!
