Many landscapes boast statues and other specialty items. A statuary could be as modest as a garden gnome, bird bath, or sundial. They require attention brought to them after sunset through sculpture lighting. The lighting should not only illuminate the sculpture but also make it as good-looking at night as it is during daytime.
In the following sections, we look at how best to light sculptures to bring out the best in them.
How to: Sculpture lighting
Statues are a reflection of our aesthetics and pride. They bring magnificence to our outdoor spaces. To capture their essence after dark, it’s crucial to illuminate key features that convey expression, emotion, movement, and craftsmanship. Show off the shape, form, color, and texture of the artistry.
This is true whether you are portraying a human figure, an animal carving, or an intricate Japanese design,
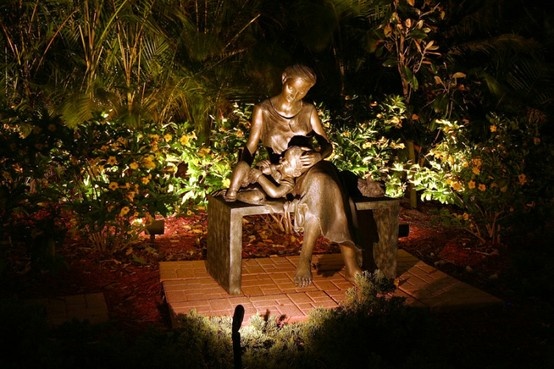
- For sculptures depicting human figures, highlight facial features to convey emotion and express movement if that is the statue’s intention. For example, a left-facing woman can be emphasized with right-sided lighting, with extra lighting to highlight movement. Illuminate faces with subtlety for a shy look and boldly, with possible deep shadows, for strong masculine figures.
- When dealing with animal sculptures, draw attention to fur details to accentuate their lifelike qualities and movement.
- To emphasize a specific element in a sculpture, direct a narrow beam of light onto that particular feature to highlight it.
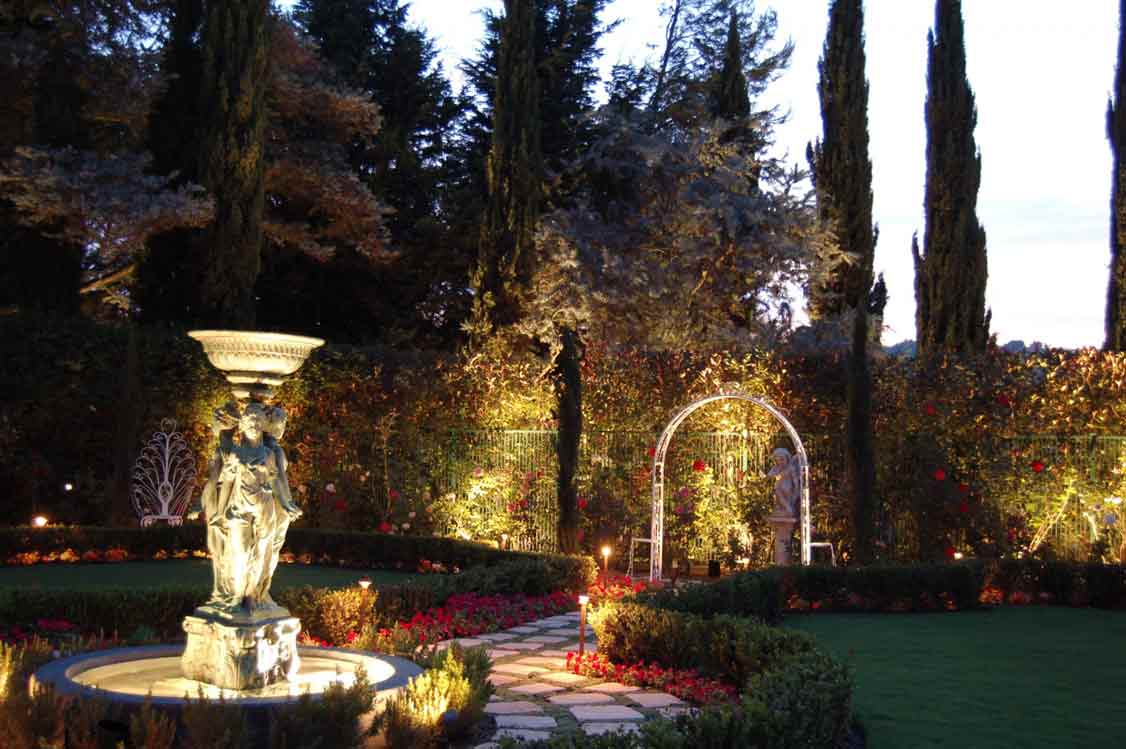
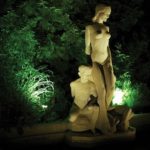
In this image, the sculpture is front-lit from about 3 feet with a medium beam spread lamp to the right. This washes and emphasizes the right side of the subject with light. Washing the shrubs with light acts as a lit backdrop. Much theatrical!
What to Consider
Fixture placement:
Light intensity:
Viewpoints
Lighting Techniques
Sculpture lighting techniques are as diverse as the sculptures themselves.
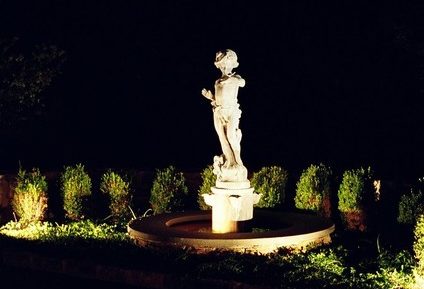
- Uplighting: For statues with softer lines, uplighting is ideal, casting captivating shadows and producing a dramatic effect. The proximity of the light source determines the concentration and focus of the illumination. A fixture close to the sculpture brings out the texture while one farther away softens the details. Avoid uplighting for upward-facing figures.
- Cross Lighting: Illuminating a statue from one side can result in an uneven appearance. Crosslighting, from two opposing directions ensures comprehensive and balanced illumination.
- Downlighting: Ideal for upward-facing statues, those on large plants, or plant containers. Downlighting mimics daylight, creating shadows that transform textural details and facial expressions. Many features may benefit from uplighting, downlighting, and crosslighting.
- Shadowing: When a statue is against a wall or hedge, front lighting can create captivating shadows on the surface behind it.
- Backlighting and Silhouetting: Silhouetting emphasizes the form and shape of the sculpture by lighting a wall behind it, creating a silhouette effect. Backlighting, on the other hand, involves illuminating statues from behind, producing a halo effect on the sides. While silhouetting requires a surface behind the sculpture, backlighting doesn’t.
-
- Uplighting and cross-lighting a statue
-
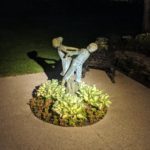
- Downlighting from the eave or dormer of this house highlights movement while casting a shadow on the ground below.
-

- Silhouetting this sculpture of a lion against a lit wall behind while leaving the statue dark
Fixture selection
Ultimately, your choice of lighting fixtures should align with your artistic vision, considering the statue’s characteristics and the desired ambiance in your outdoor space. specialty items are usually very personal to the owner and should be treated as such using up lights to Accent a statue.
If you are fortunate to own a sculpture, consult the artist about appropriate lighting, as he/she may have strong feelings on the subject.
That’s it for now!
